
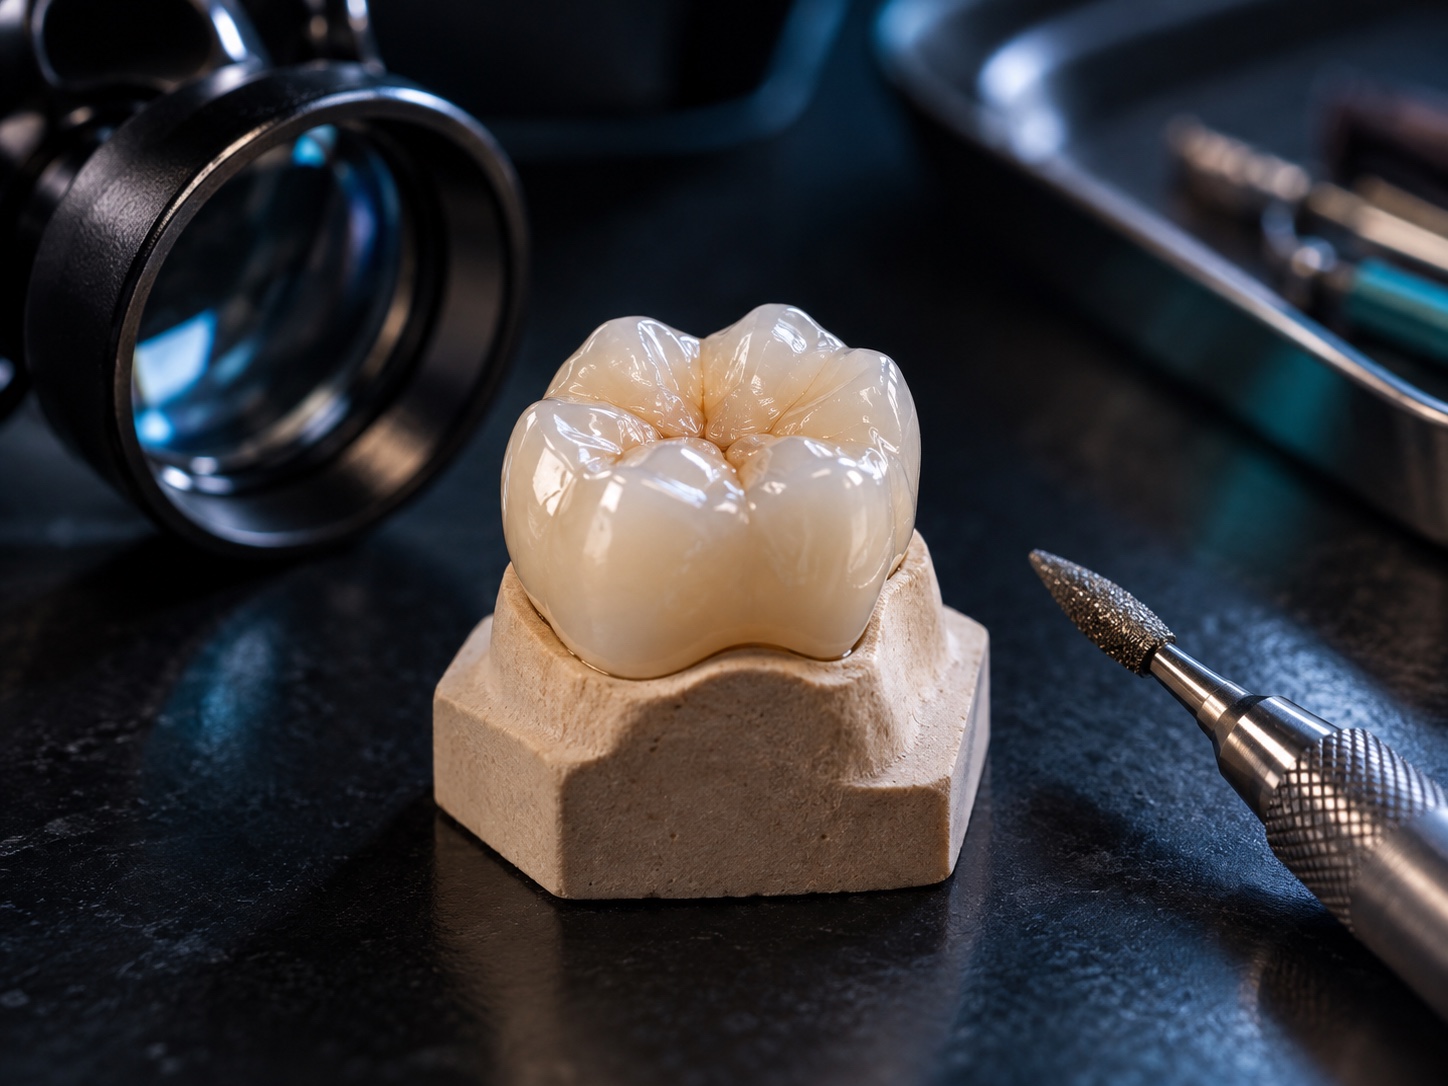
A zirconia crown is not finished when it merely looks glossy in a photograph. The surface delivered to the practice is the result of material selection, milling, sintering, adjustment, and the chosen finishing sequence. Each step should follow the specific manufacturer’s instructions for that material and indication.
Start with the restoration, not a generic recipe
Before production, confirm the prescribed indication and the material’s documented use. Review minimum thickness, connector guidance where relevant, and the sintering and finishing instructions supplied for that blank. Translucency, strength, and esthetics are tradeoffs; a single “best zirconia” claim hides the actual case decision.
What the technician should inspect
- Margins and internal fit: no unintended gaps, chips, or seating interference.
- Proximal and occlusal contacts: assess against the approved design and clinical prescription.
- Adjusted surfaces: remove roughness using the material maker’s permitted finishing sequence.
- Shade and characterization: compare under consistent light and document meaningful limitations.
- Case identity: keep the material, lot, and final QC result with the case record.
Why surface finishing matters
A published systematic review found that polished zirconia generally produced less antagonist wear than glazed or veneered zirconia in the studies it evaluated. The evidence had limitations, so this is not a universal instruction for every case. The practical lesson is to treat post-adjustment surface condition as a documented quality step, with the clinician deciding chairside adjustments and the lab following the manufacturer’s validated workflow.
A better release note
Tell the practice which restoration and shade were made, whether any design compromise was agreed, and whether chairside adjustment should be followed by a specific finishing protocol. That note makes technician work easier to use safely and predictably.